
How to Use the SuperIntern Team Plan: Sharing Meetings, Projects, and Permissions

With the SuperIntern Team plan, your team's meetings live in one workspace, where you can share meetings, organize them into projects, and manage permissions in one place.
This guide walks first-time Team plan users through everyday usage, step by step.
- Understand the two spaces: Team and Private
- Record a meeting (it lands in Private first)
- Create a project
- Share meetings with your team
- Share with only some members (restricted projects)
If you haven't created a workspace or invited members yet, start with the Team plan getting started guide.
⚠️ This article reflects SuperIntern's behavior as of August 2026. Screens and specifications may change.
Table of Contents
- Understand the two spaces
- Record a meeting
- Create a project
- Share meetings with your team
- Share with only some members
- Permissions cheat sheet
- FAQ
1. Understand the two spaces
Once you join a Team workspace, the sidebar shows two spaces under "Spaces": Team and Private. This is the only concept you need before anything else.
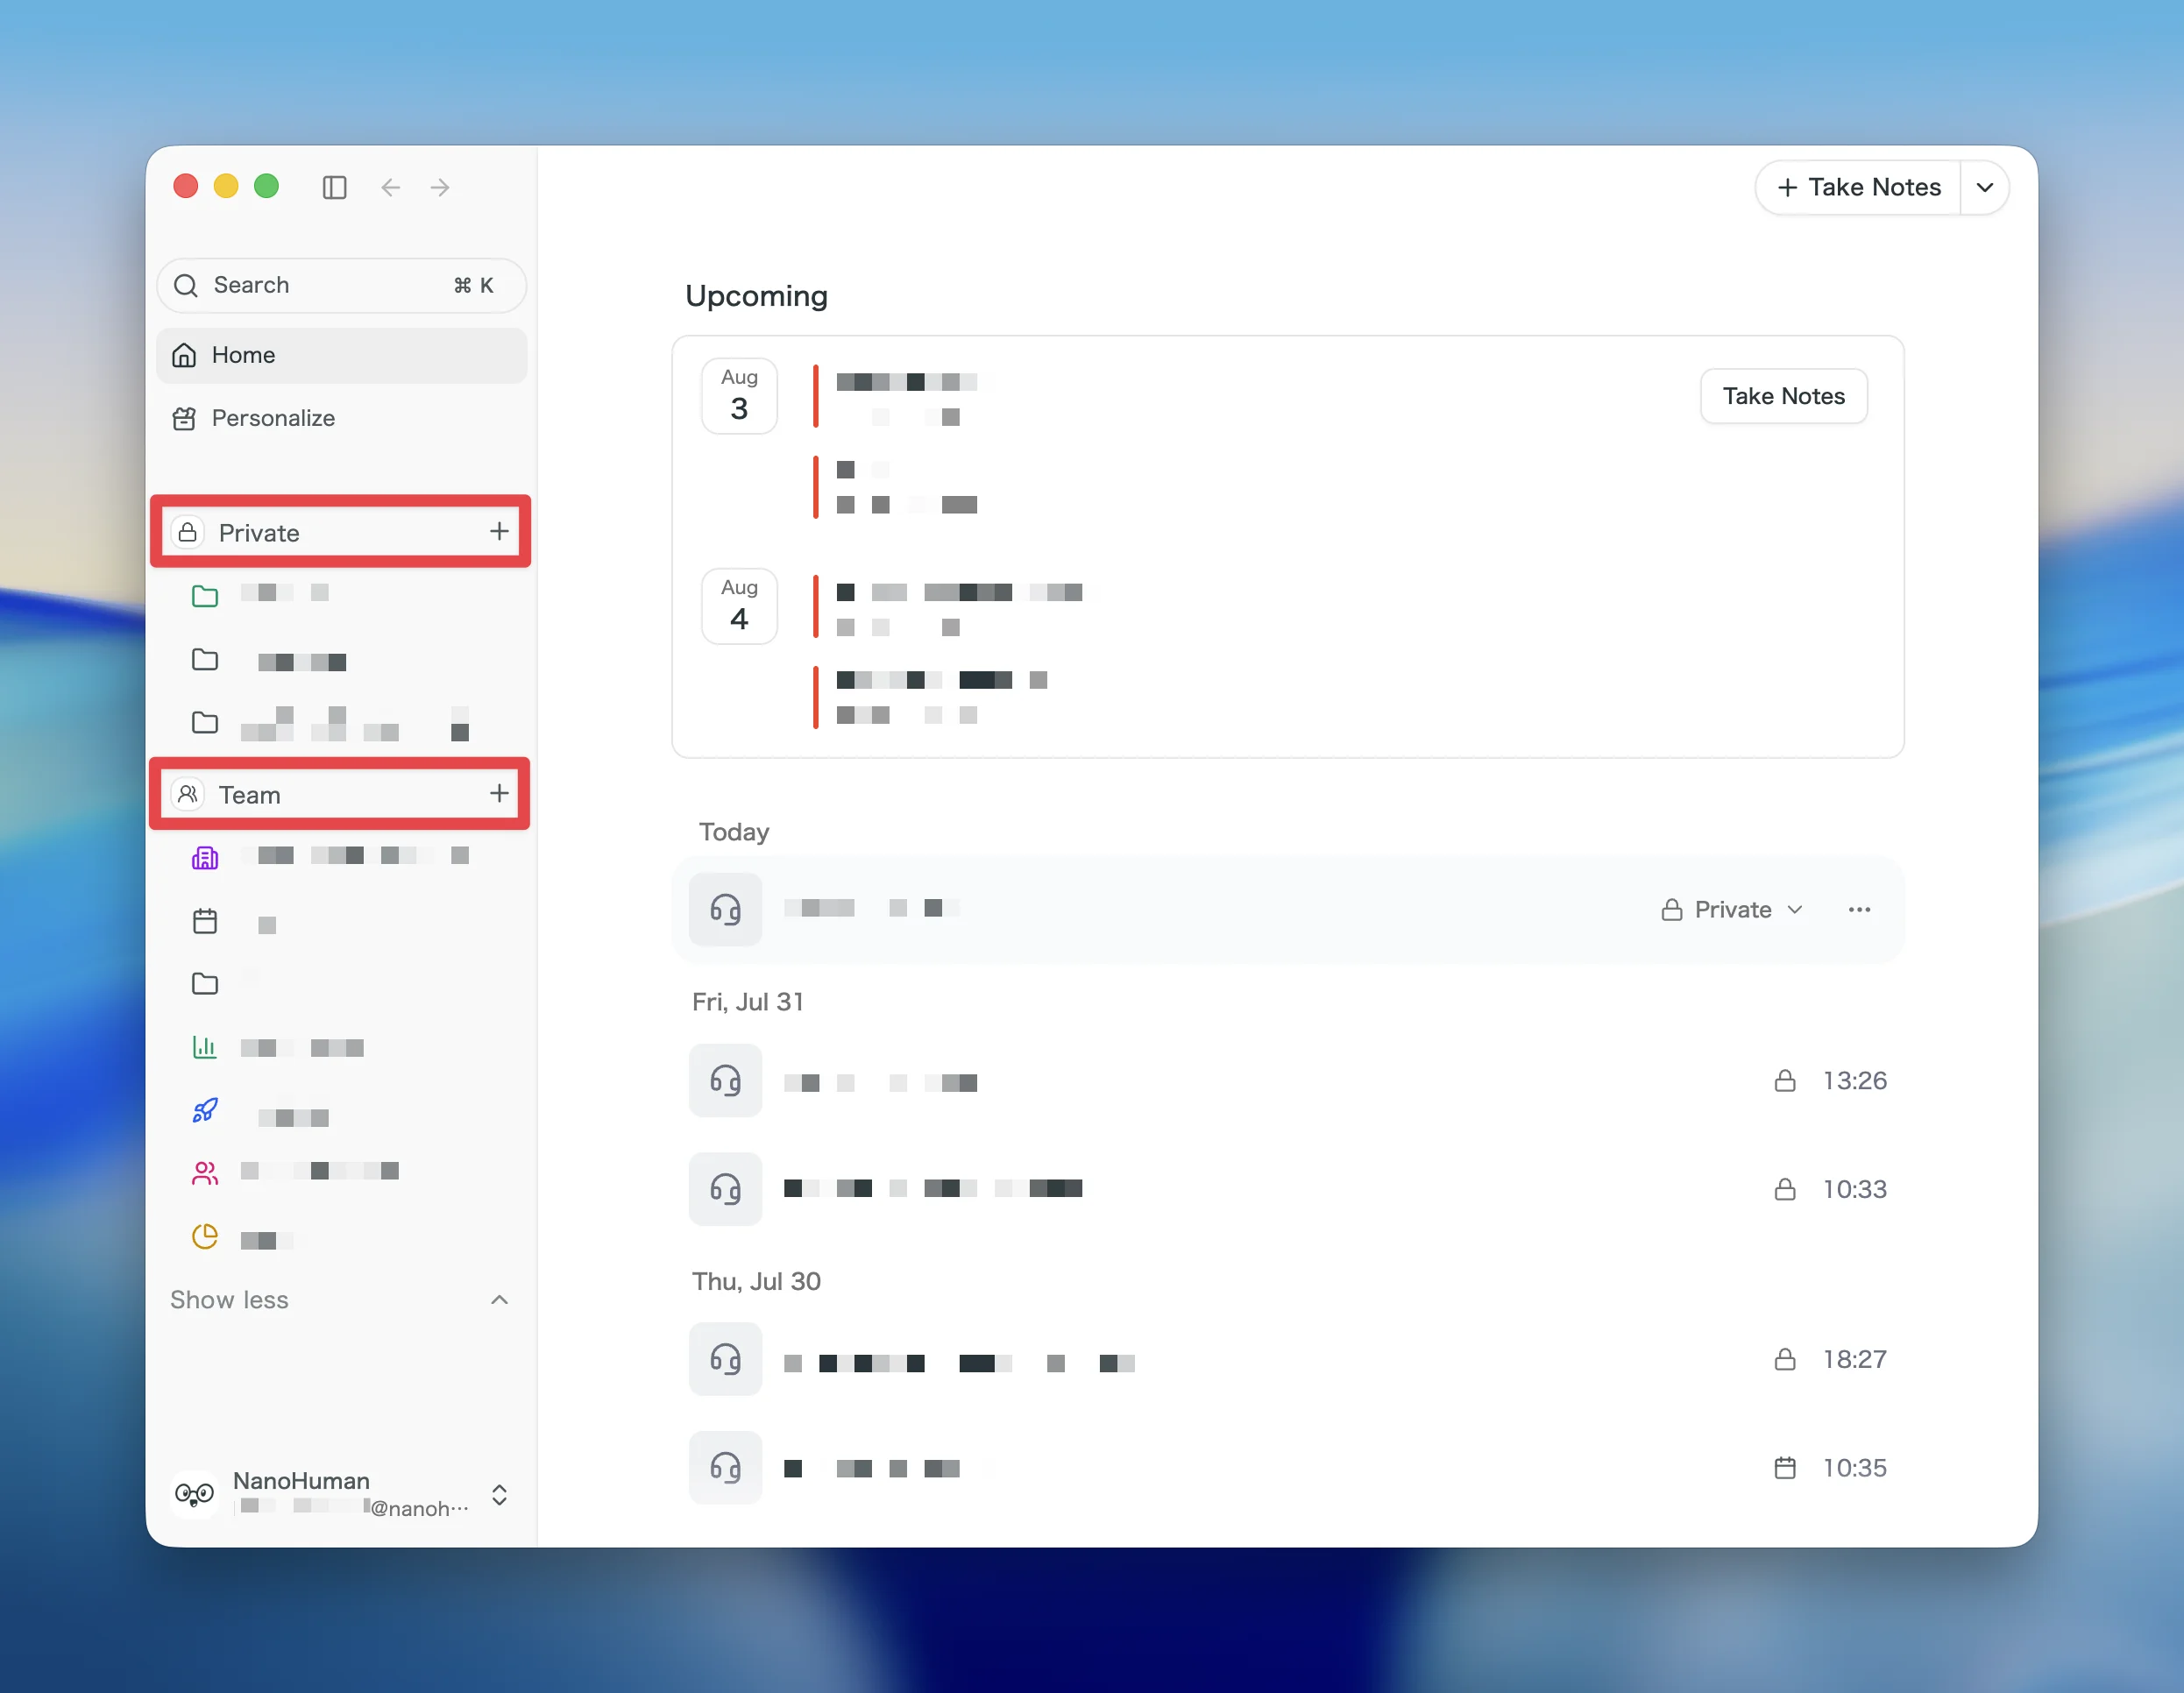
| Space | Who can see it | What it is for |
|---|---|---|
| Team | Every workspace member | Meetings and projects shared with the team |
| Private | Only you | Meetings before sharing, personal meetings |
Two things to remember:
- Private is entirely yours. Other members cannot see it, and neither can workspace admins. 1:1s, HR conversations, and external sales notes are safe there.
- Meetings are never shared automatically. Sharing always happens through your own explicit action (covered in section 4).
2. Record a meeting
Recording works exactly the same as on a personal plan. No special setup is needed for the Team plan.
- Make sure the active workspace is your Team workspace (switch from the workspace selector at the top left).
- Record your meeting as usual.
- The recording is saved to your own Private space automatically. At this point, no other member can see it.
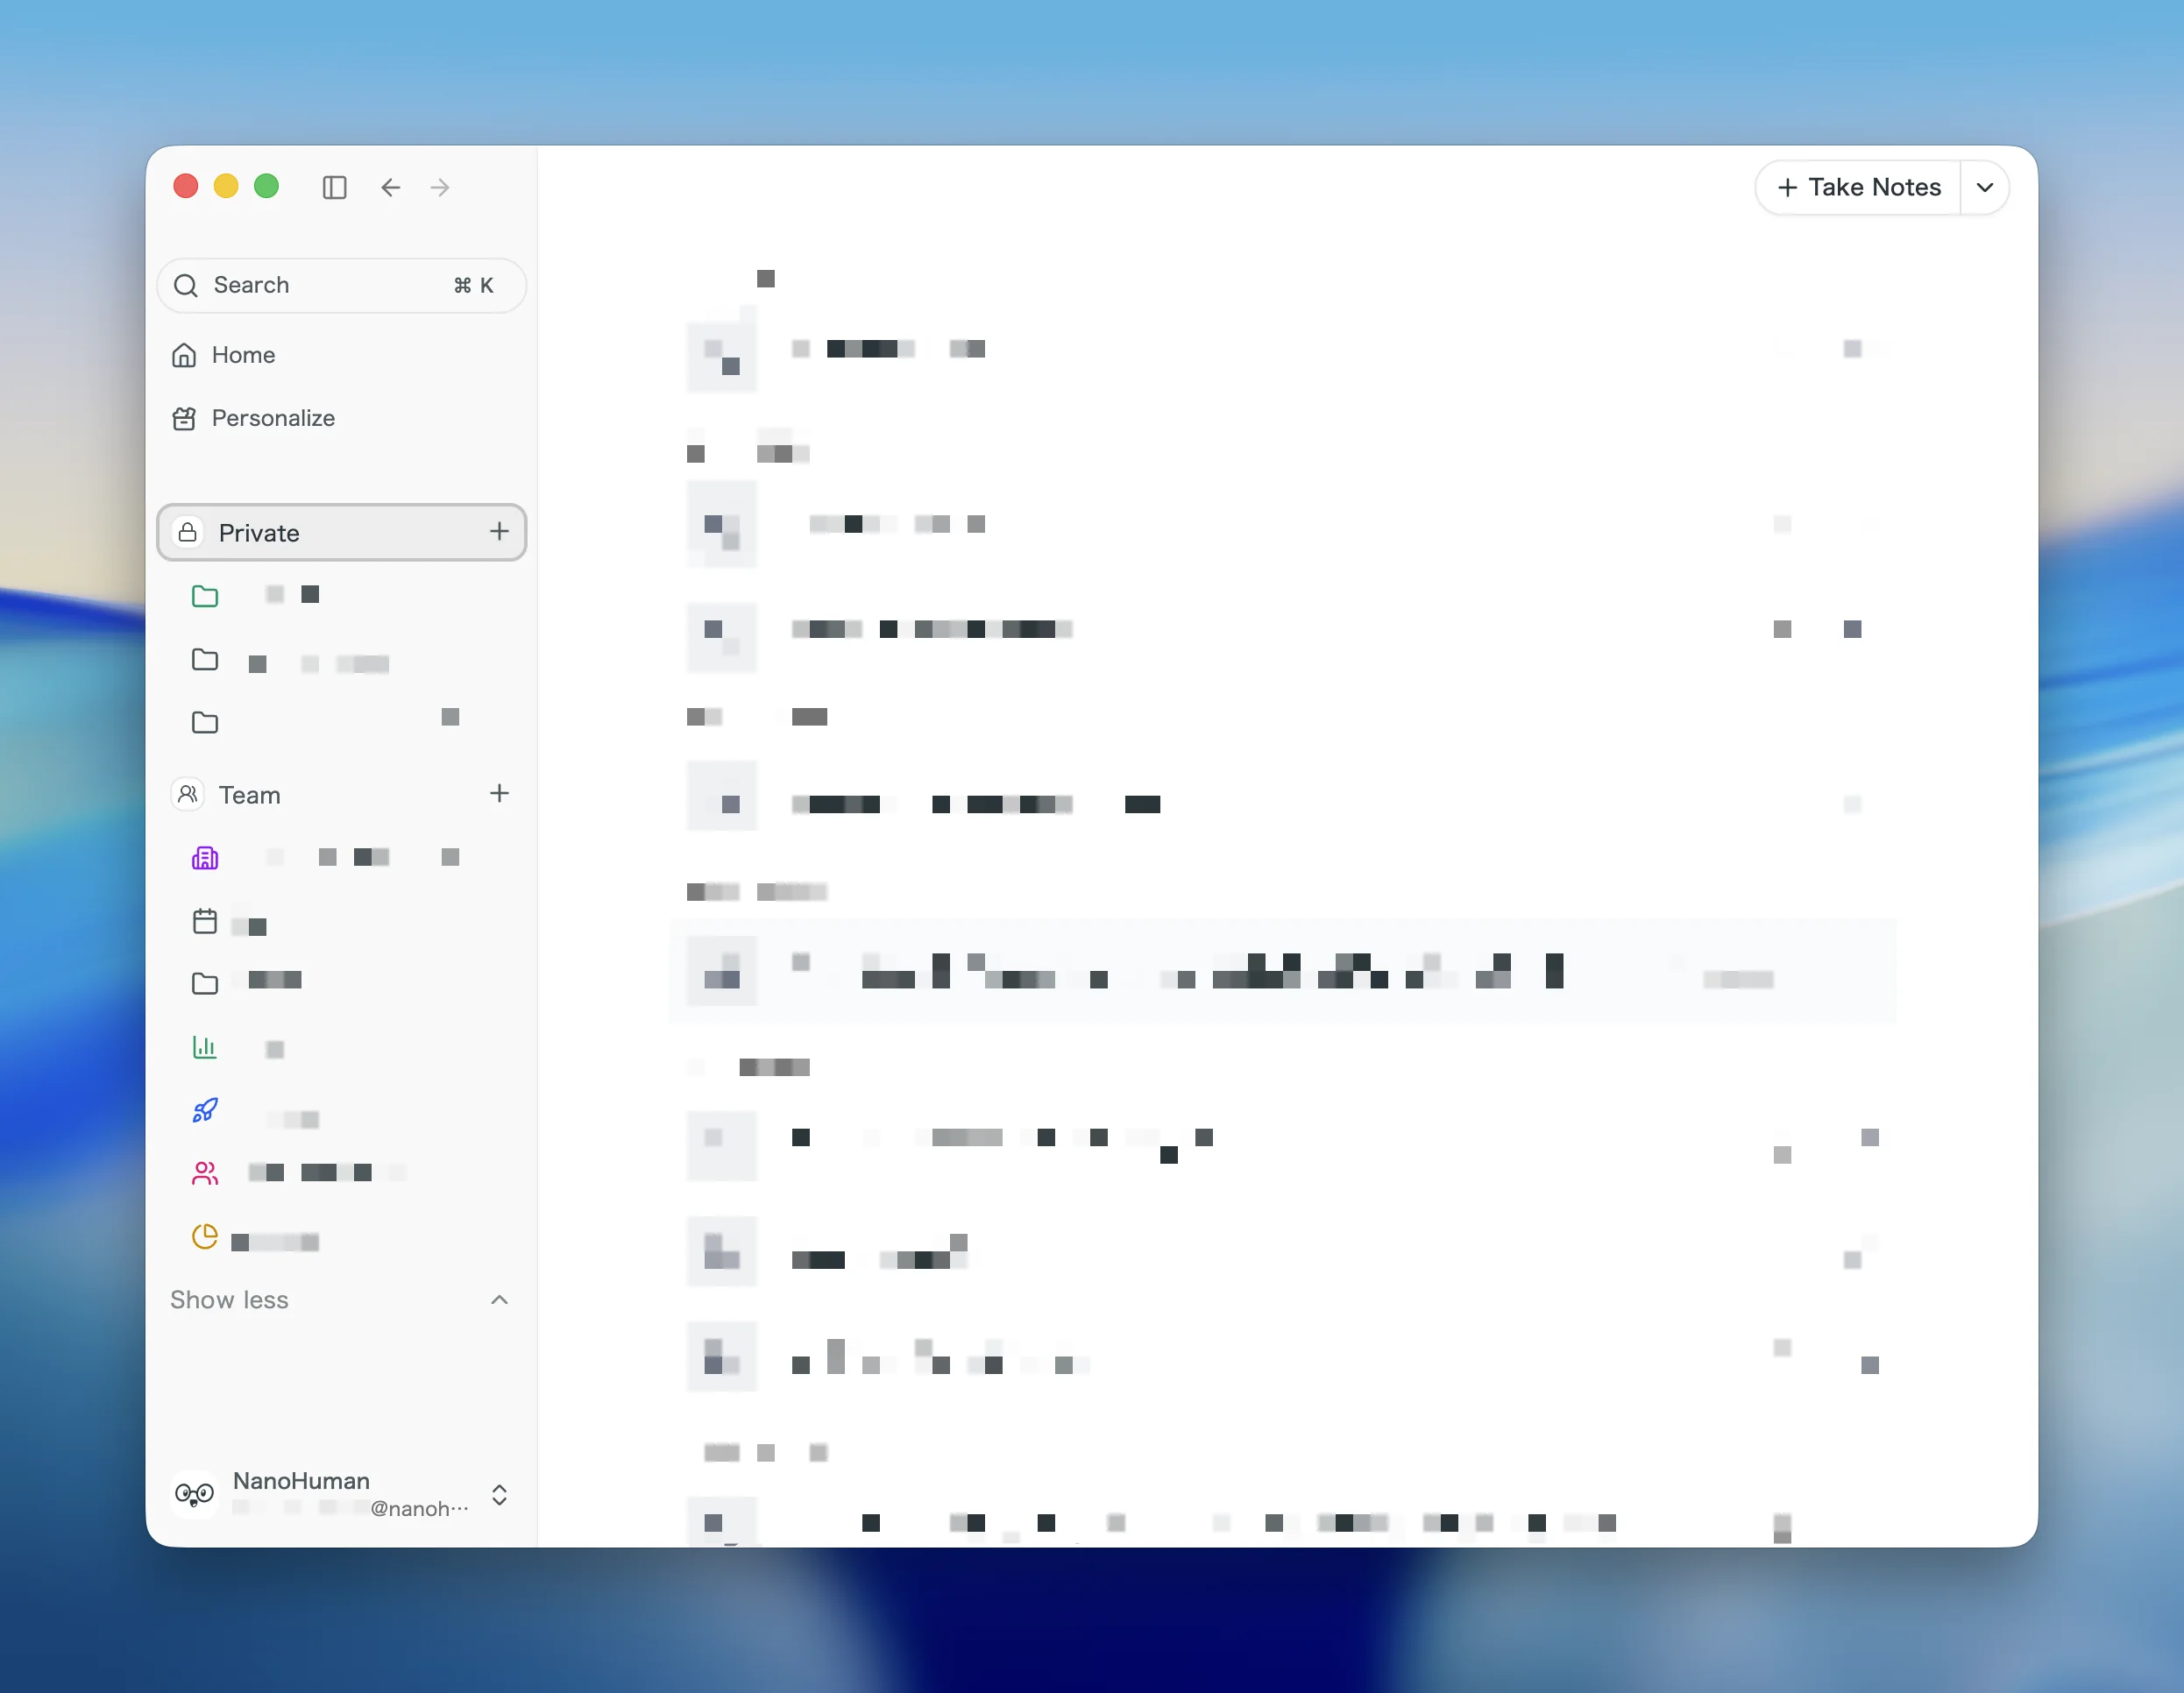
The basic rhythm is: record everything as usual, then move only the meetings you want to share into Team.
3. Create a project
Meetings are organized into projects. Think of a project as a box for one theme, such as "Weekly sync", "Recruiting interviews", or "Customer A deals".
How to create a project
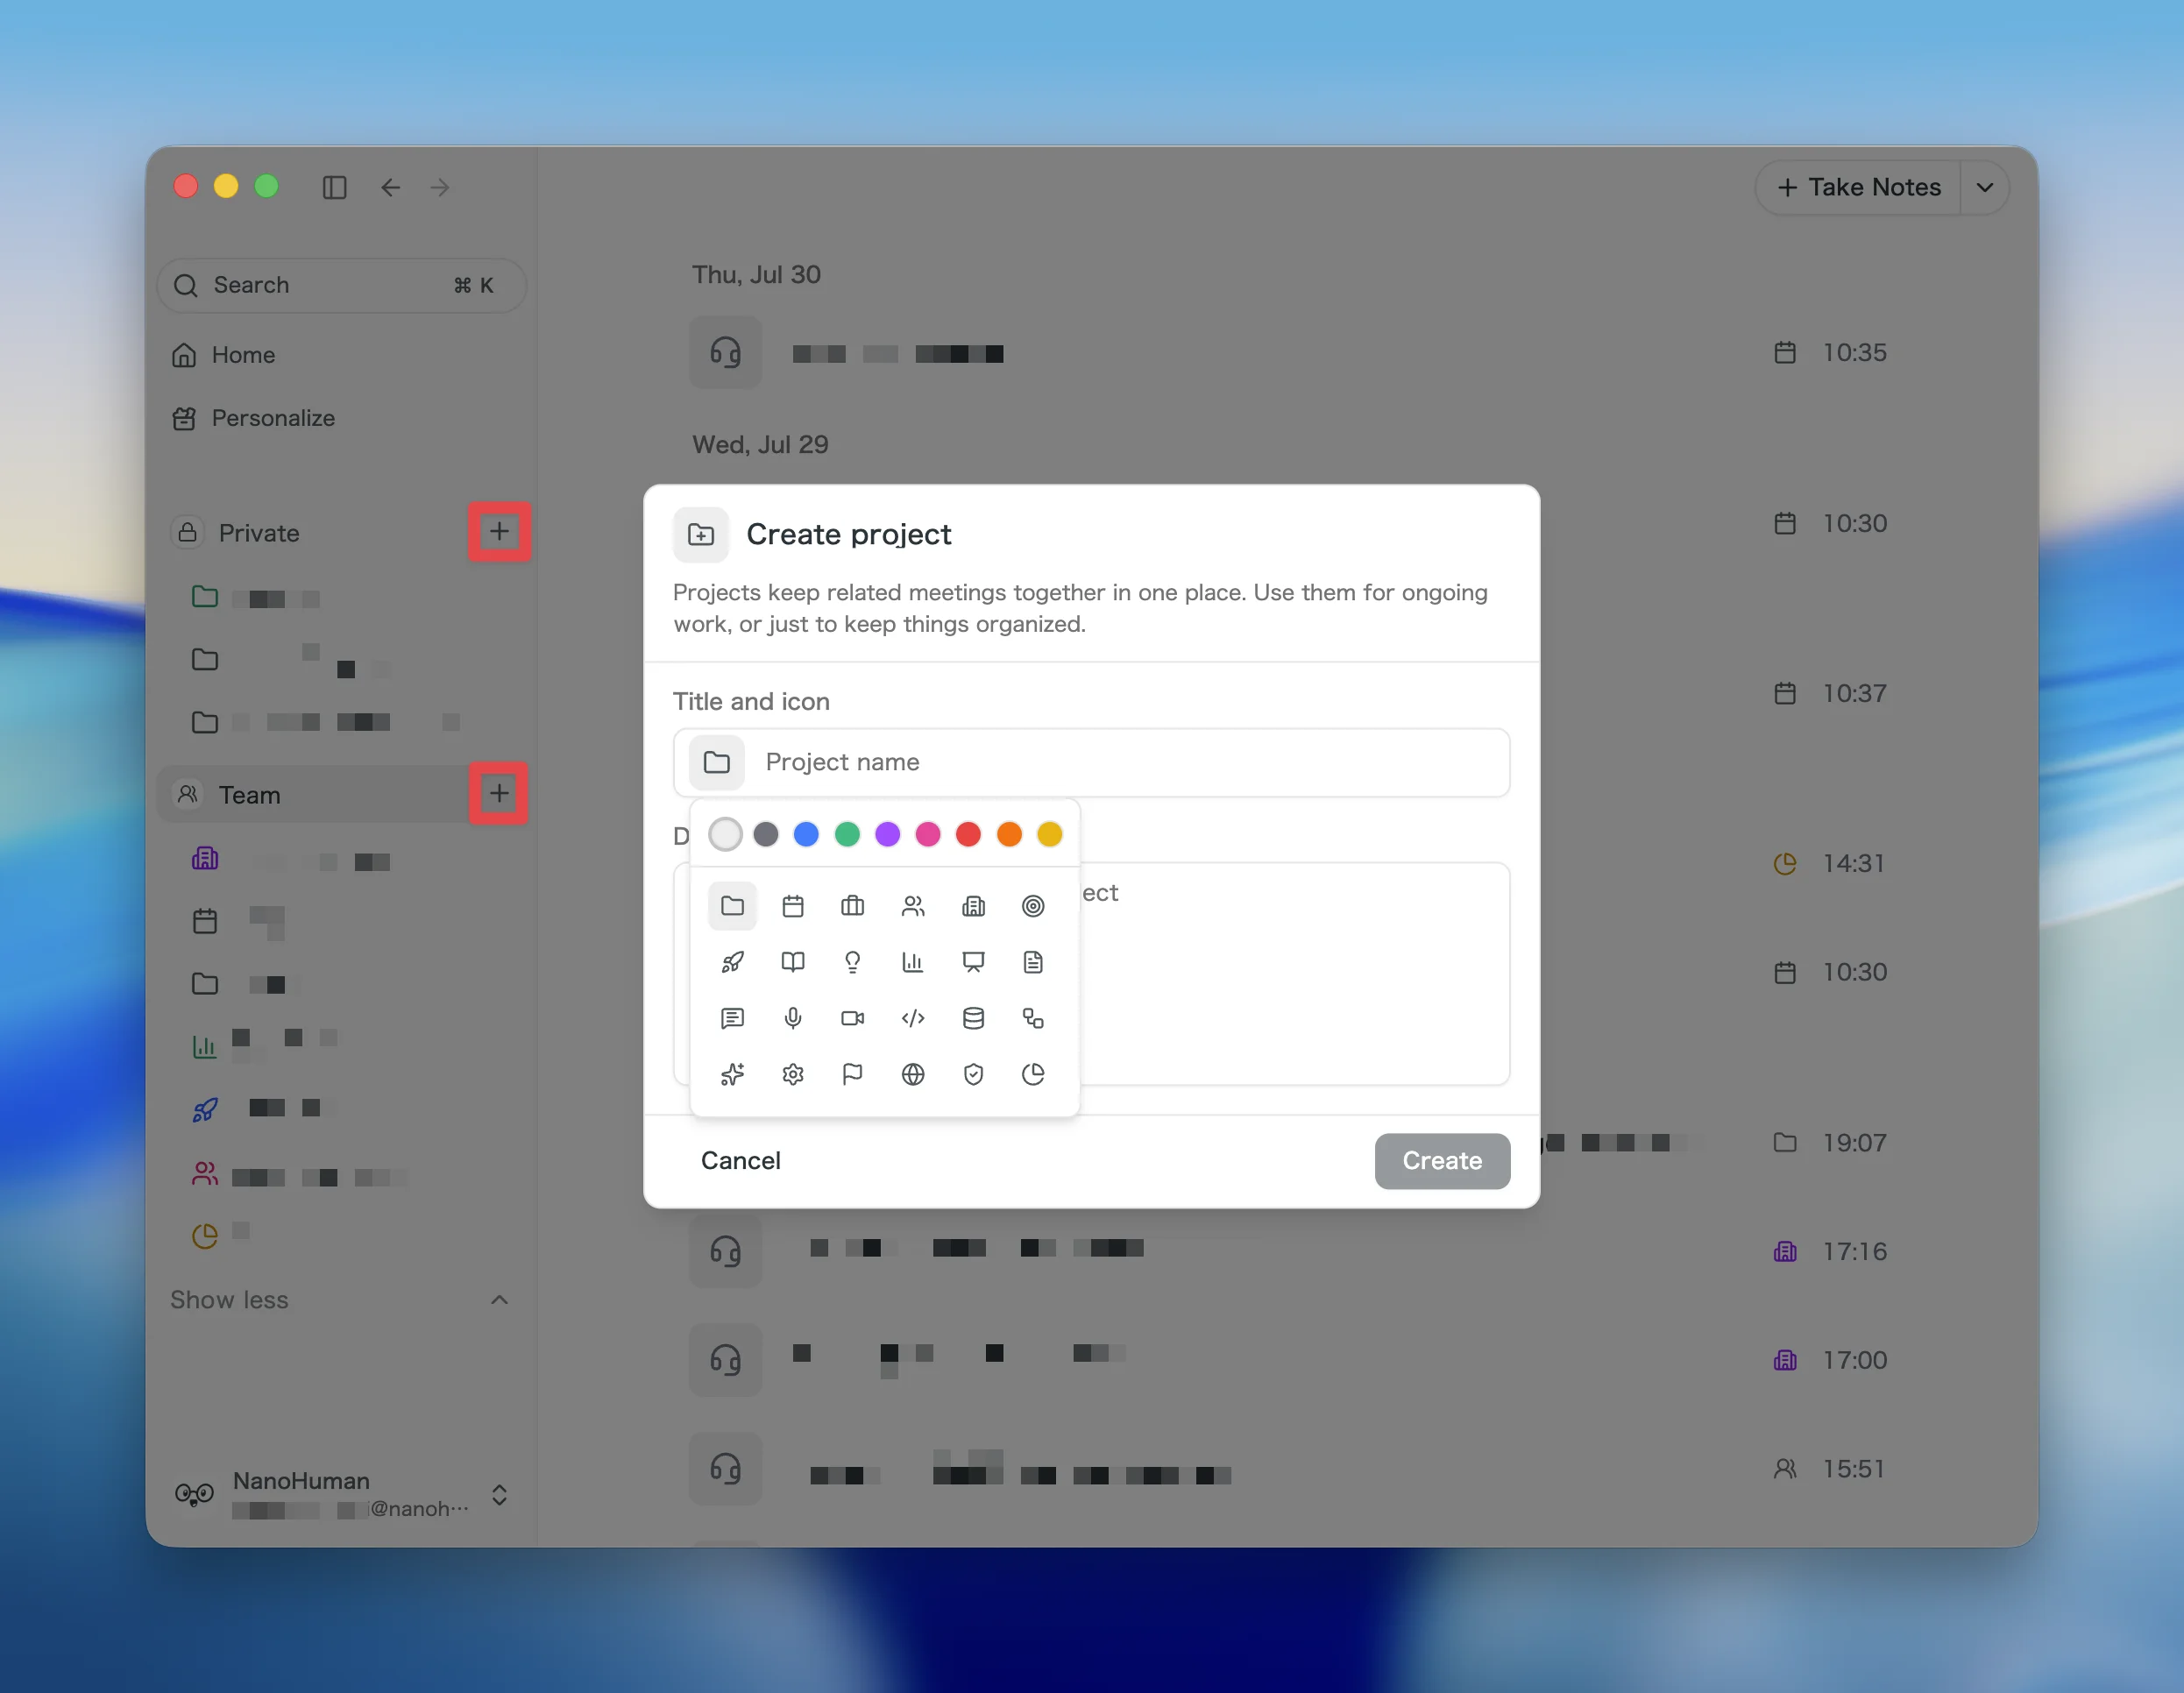
- In the sidebar under "Spaces", hover over the space where you want the project (Team or Private).
- Click the "+" button next to the space name.
- Enter a name, and optionally a description and an icon (24 icons, 9 colors).
Which space should it go in?
- Projects for the team (weekly syncs, deals, recruiting) go in the Team space, visible to every workspace member.
- Your personal filing goes in the Private space, becoming a private project only you can see.
Any workspace member can create projects, and meetings do not have to belong to one.
4. Share meetings with your team
To share a meeting from your Private space, move it into the Team space. The recommended way is adding it to a project in Team.
Add a meeting to a Team project
- Click the space/project chip on the row of the meeting you want to share (it shows "Private", "Team", or a project name).
- In the project search that opens, pick a project in the Team space (for example, "Weekly sync") as the destination.
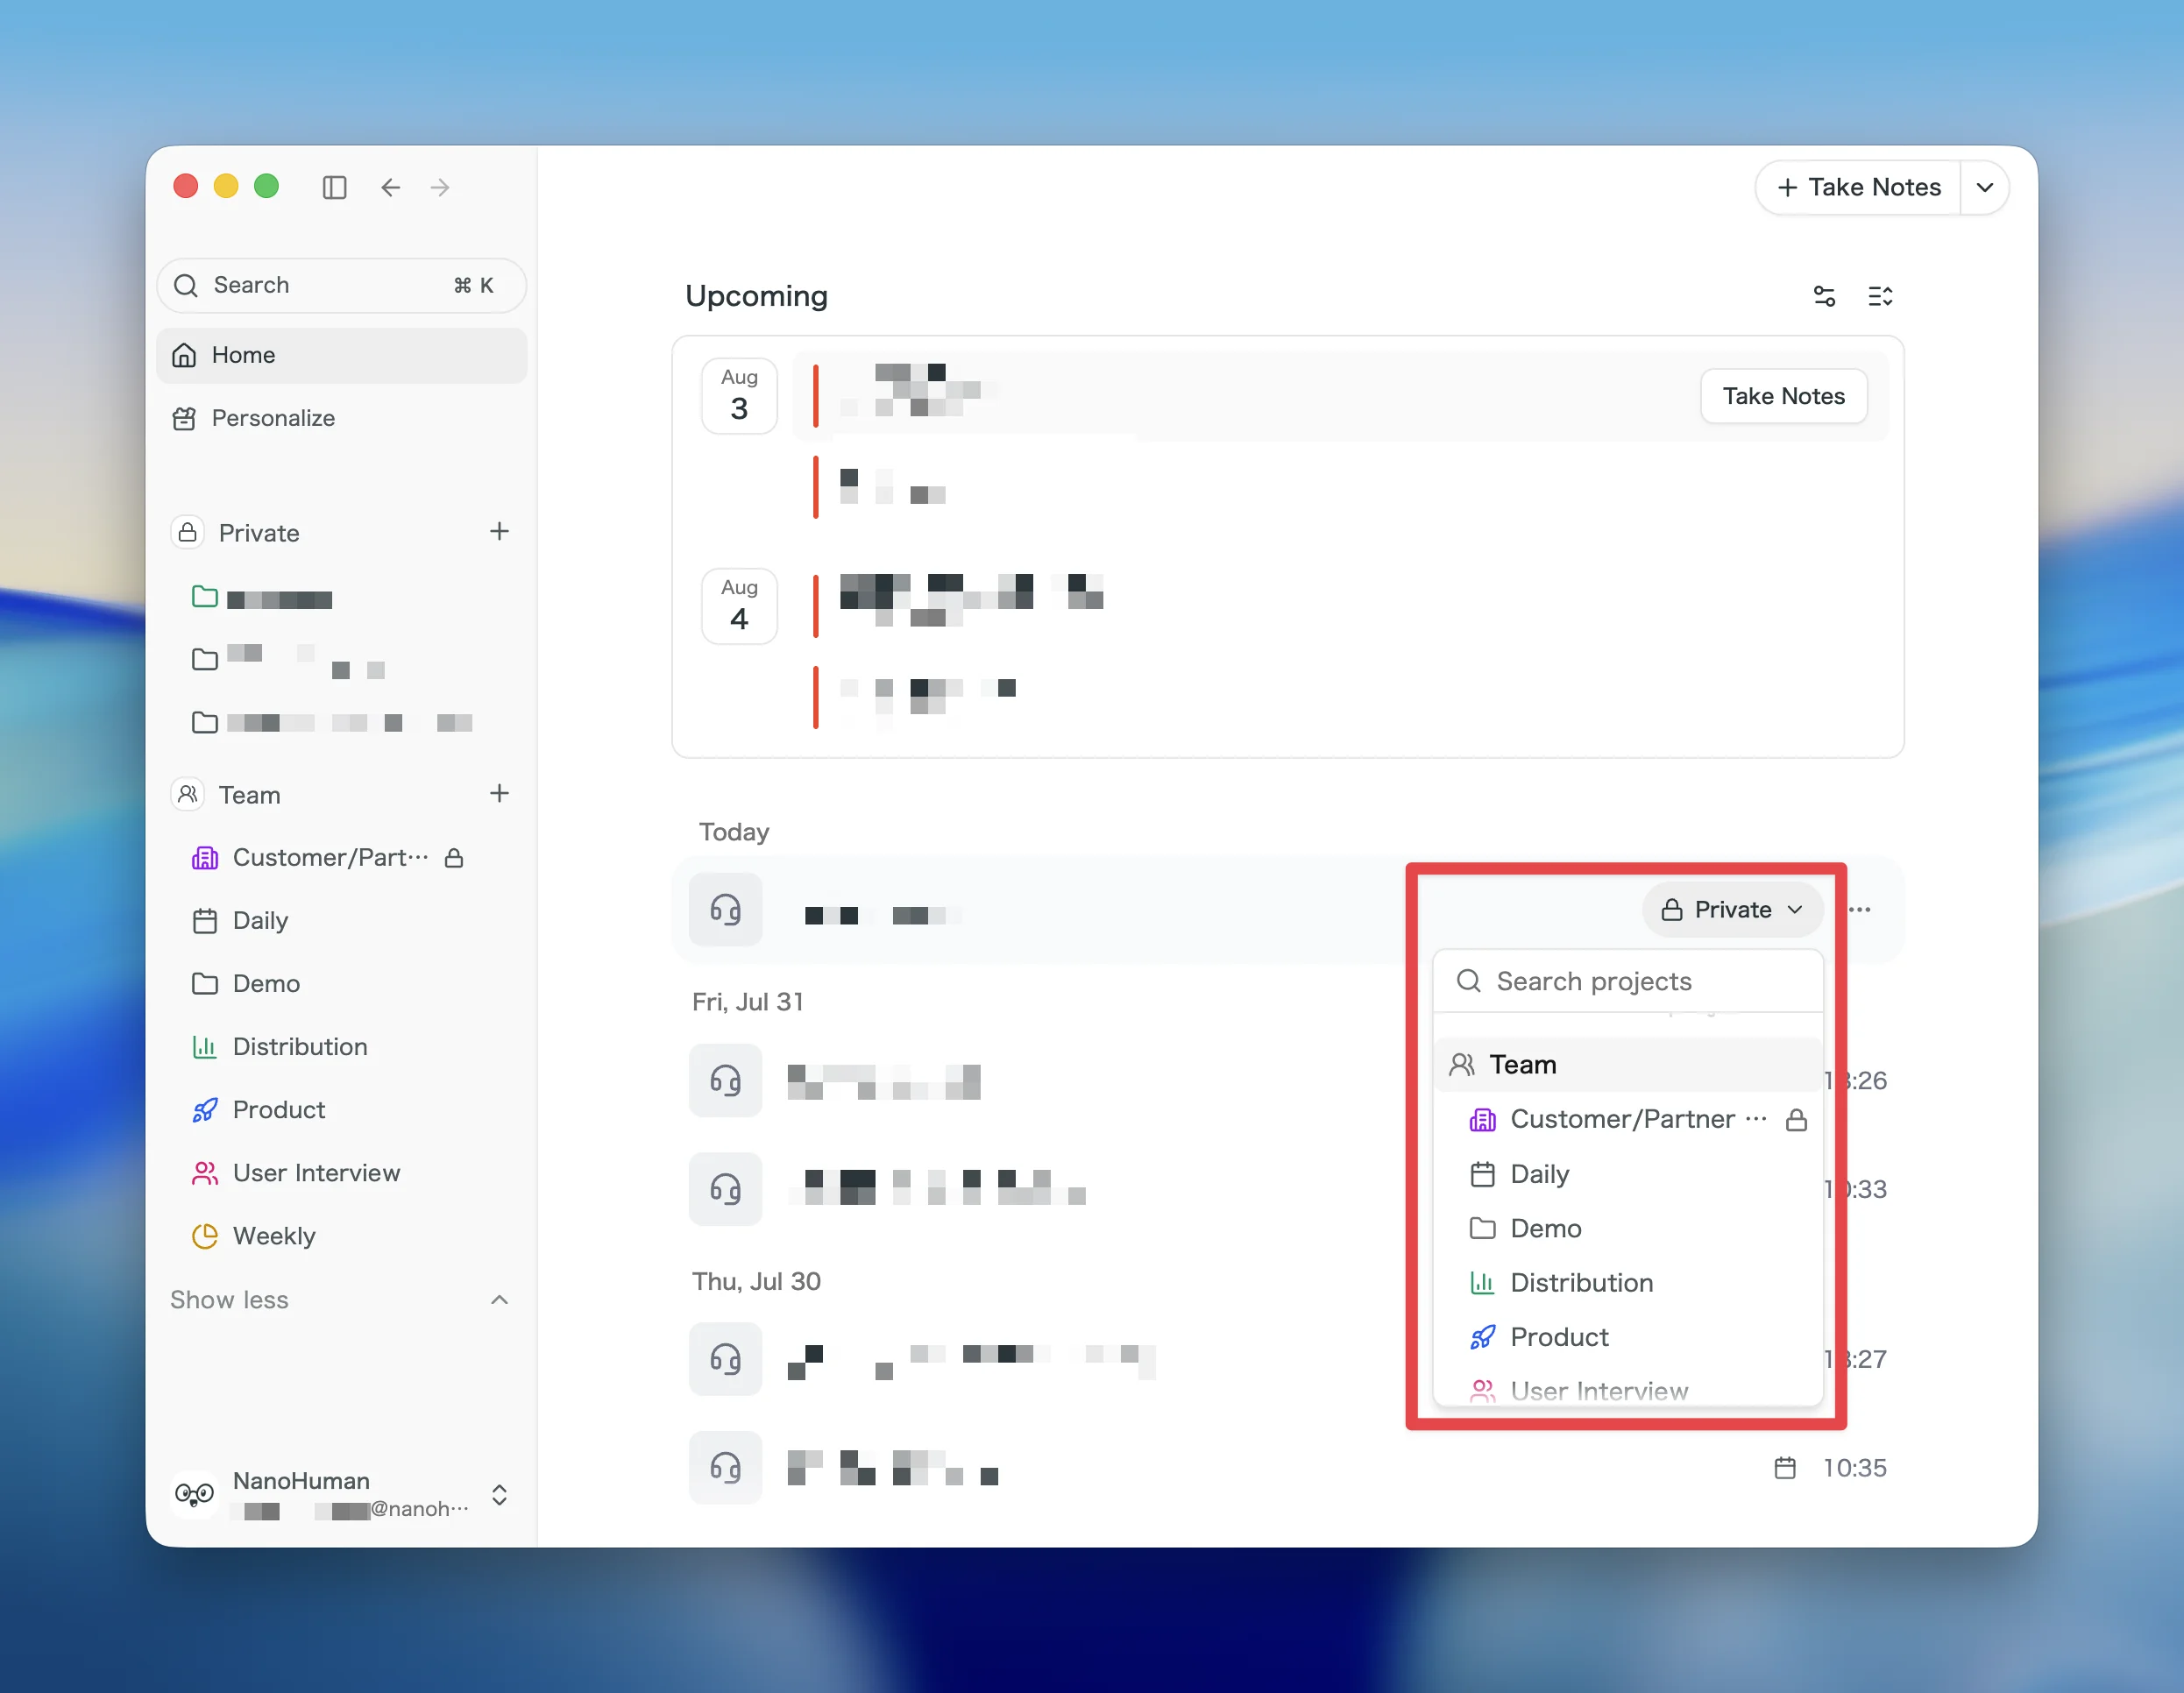
- A confirmation dialog appears: "Share with workspace?". Click "Share with workspace", and the meeting moves to the Team space, visible to every workspace member.
You can also move a meeting straight into the Team space without a project; the same confirmation dialog appears.
Add meetings in bulk from the project side
To organize past meetings, work from the project instead. Open the project, search your meetings, and add several at once. SuperIntern also suggests related meetings as candidates automatically.
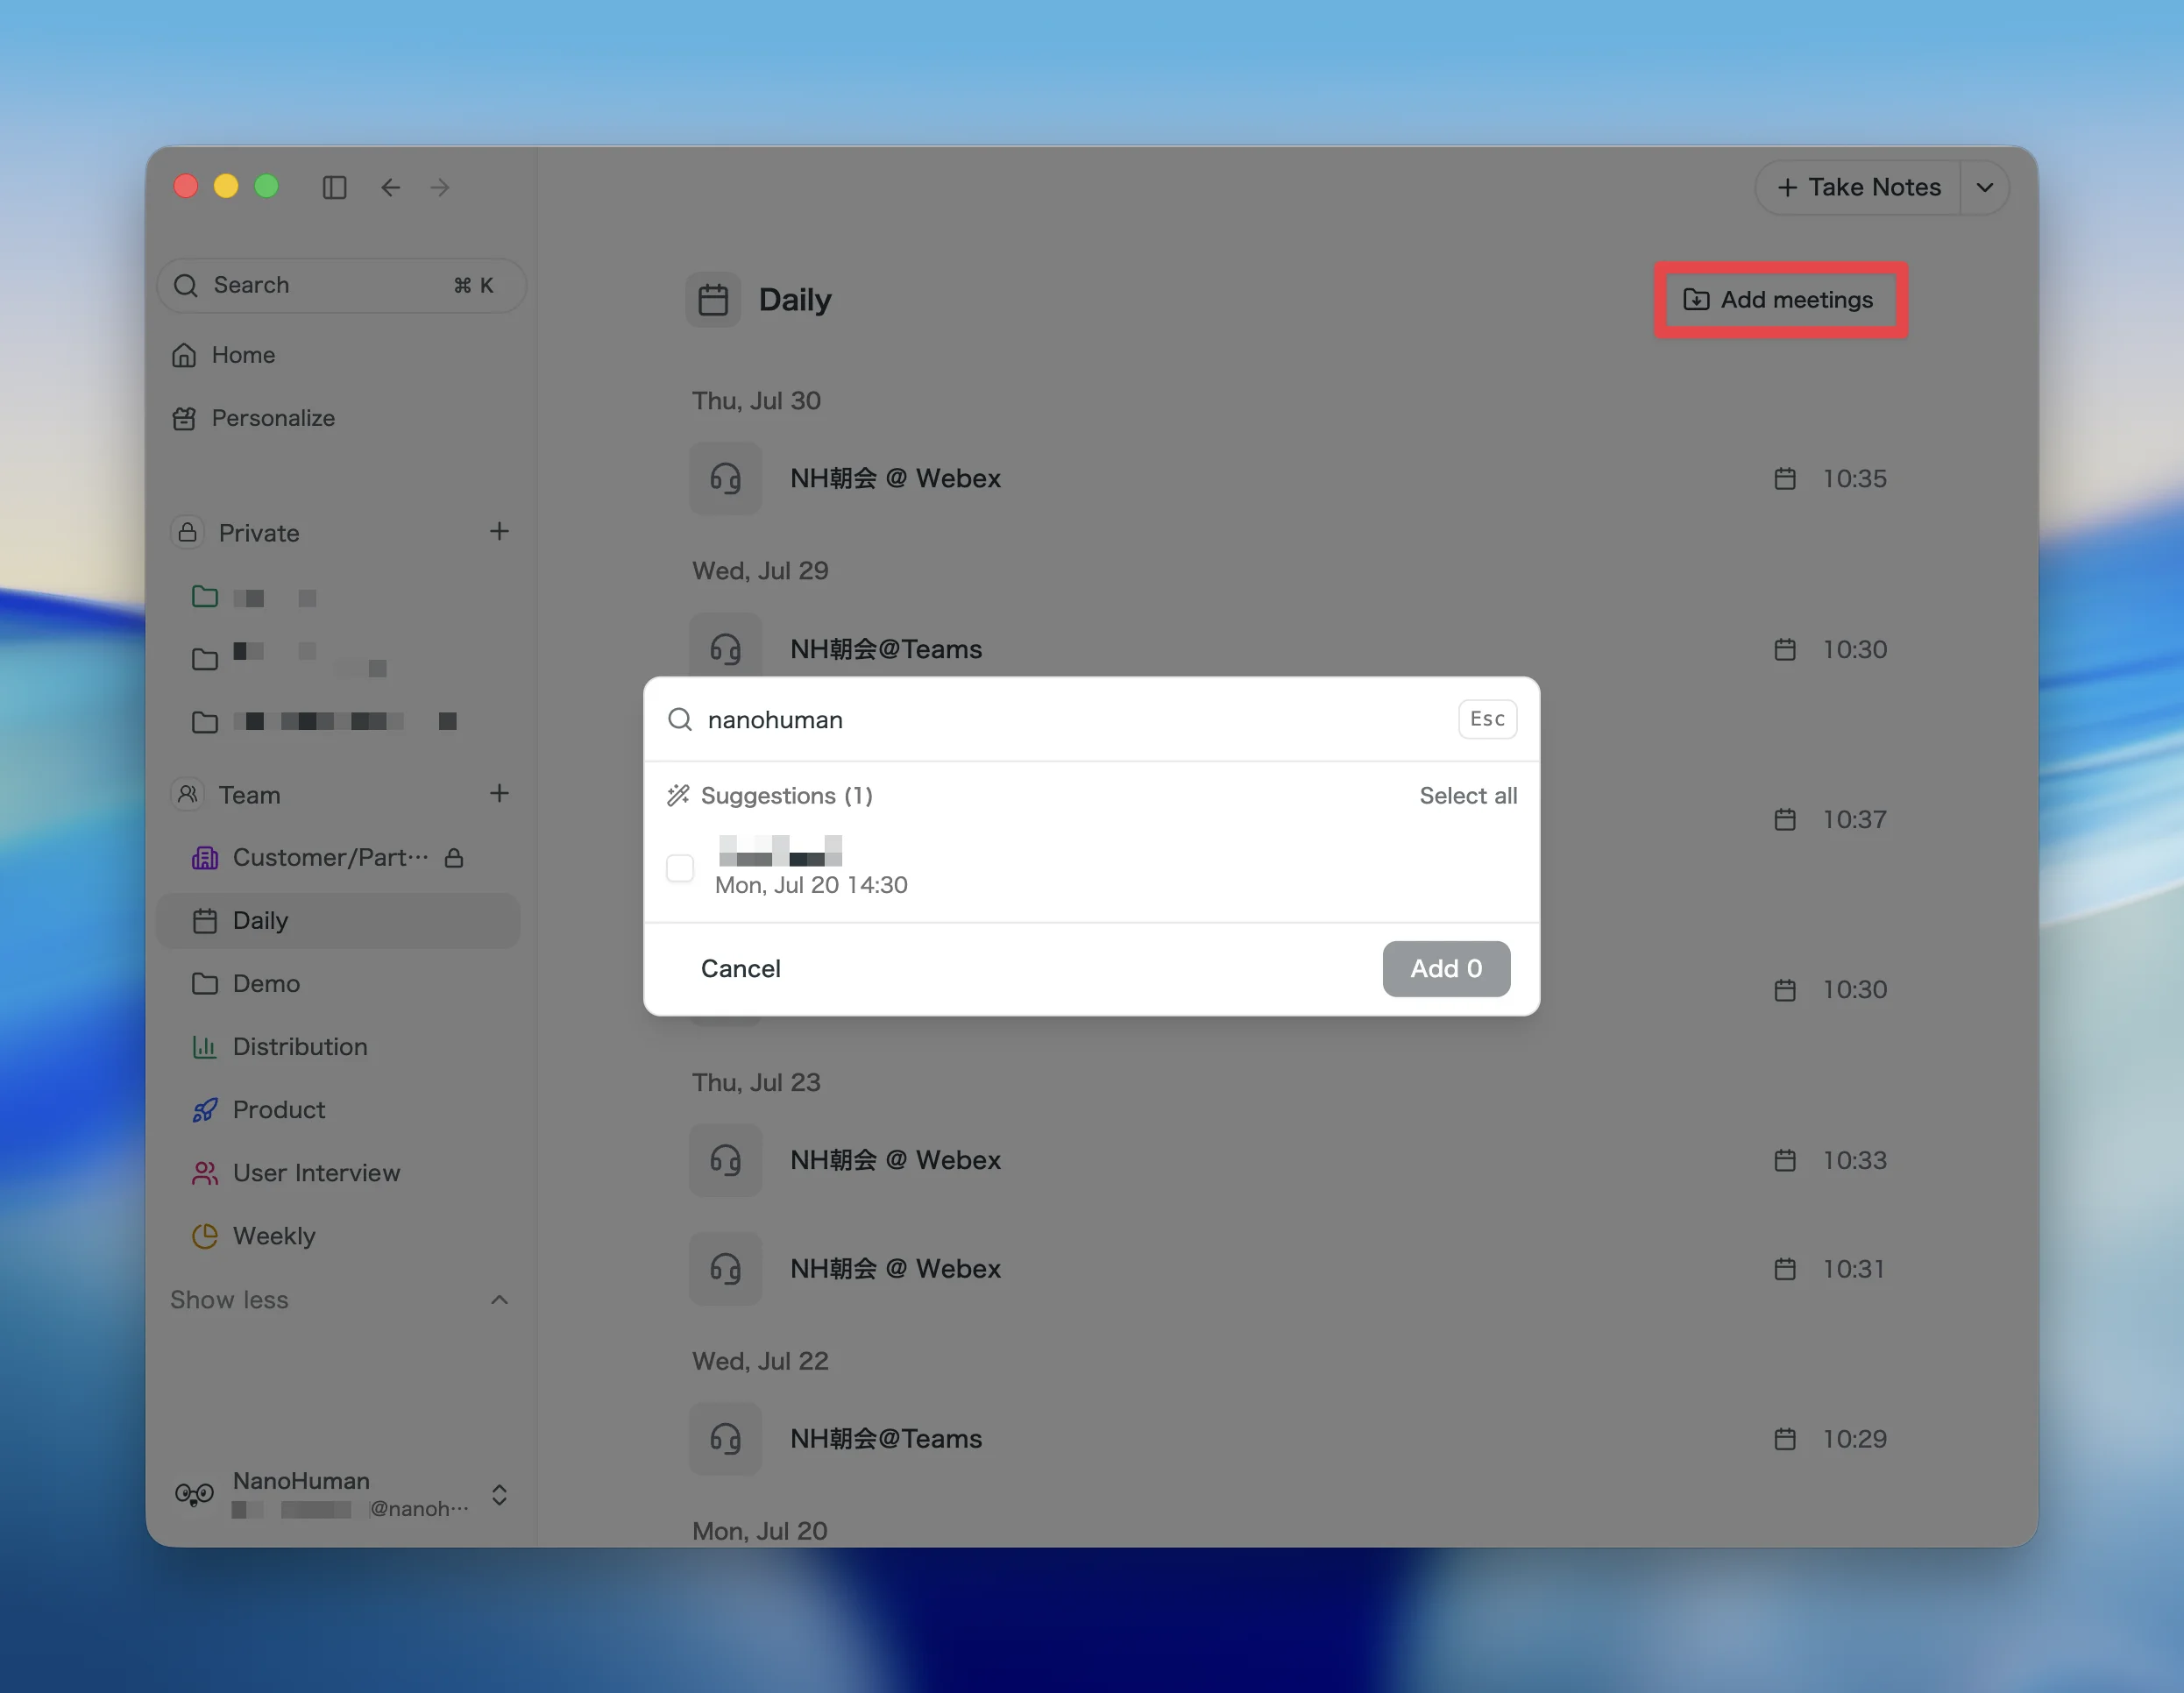
Before you share
- Only the person who recorded a meeting can share it. Nobody can publish a meeting sitting in someone else's Private space.
- A meeting can belong to multiple projects within the same space (for example, both "Customer A" and "Q3 deals").
- Once shared, only a workspace admin can move the meeting back to Private. If you are unsure, take a moment before confirming.
5. Share with only some members
For leadership meetings, HR topics, or anything meant for specific people rather than the whole team, use a restricted project. Only workspace admins can set a project as restricted.
How to set one up
- Create a project in the Team space.
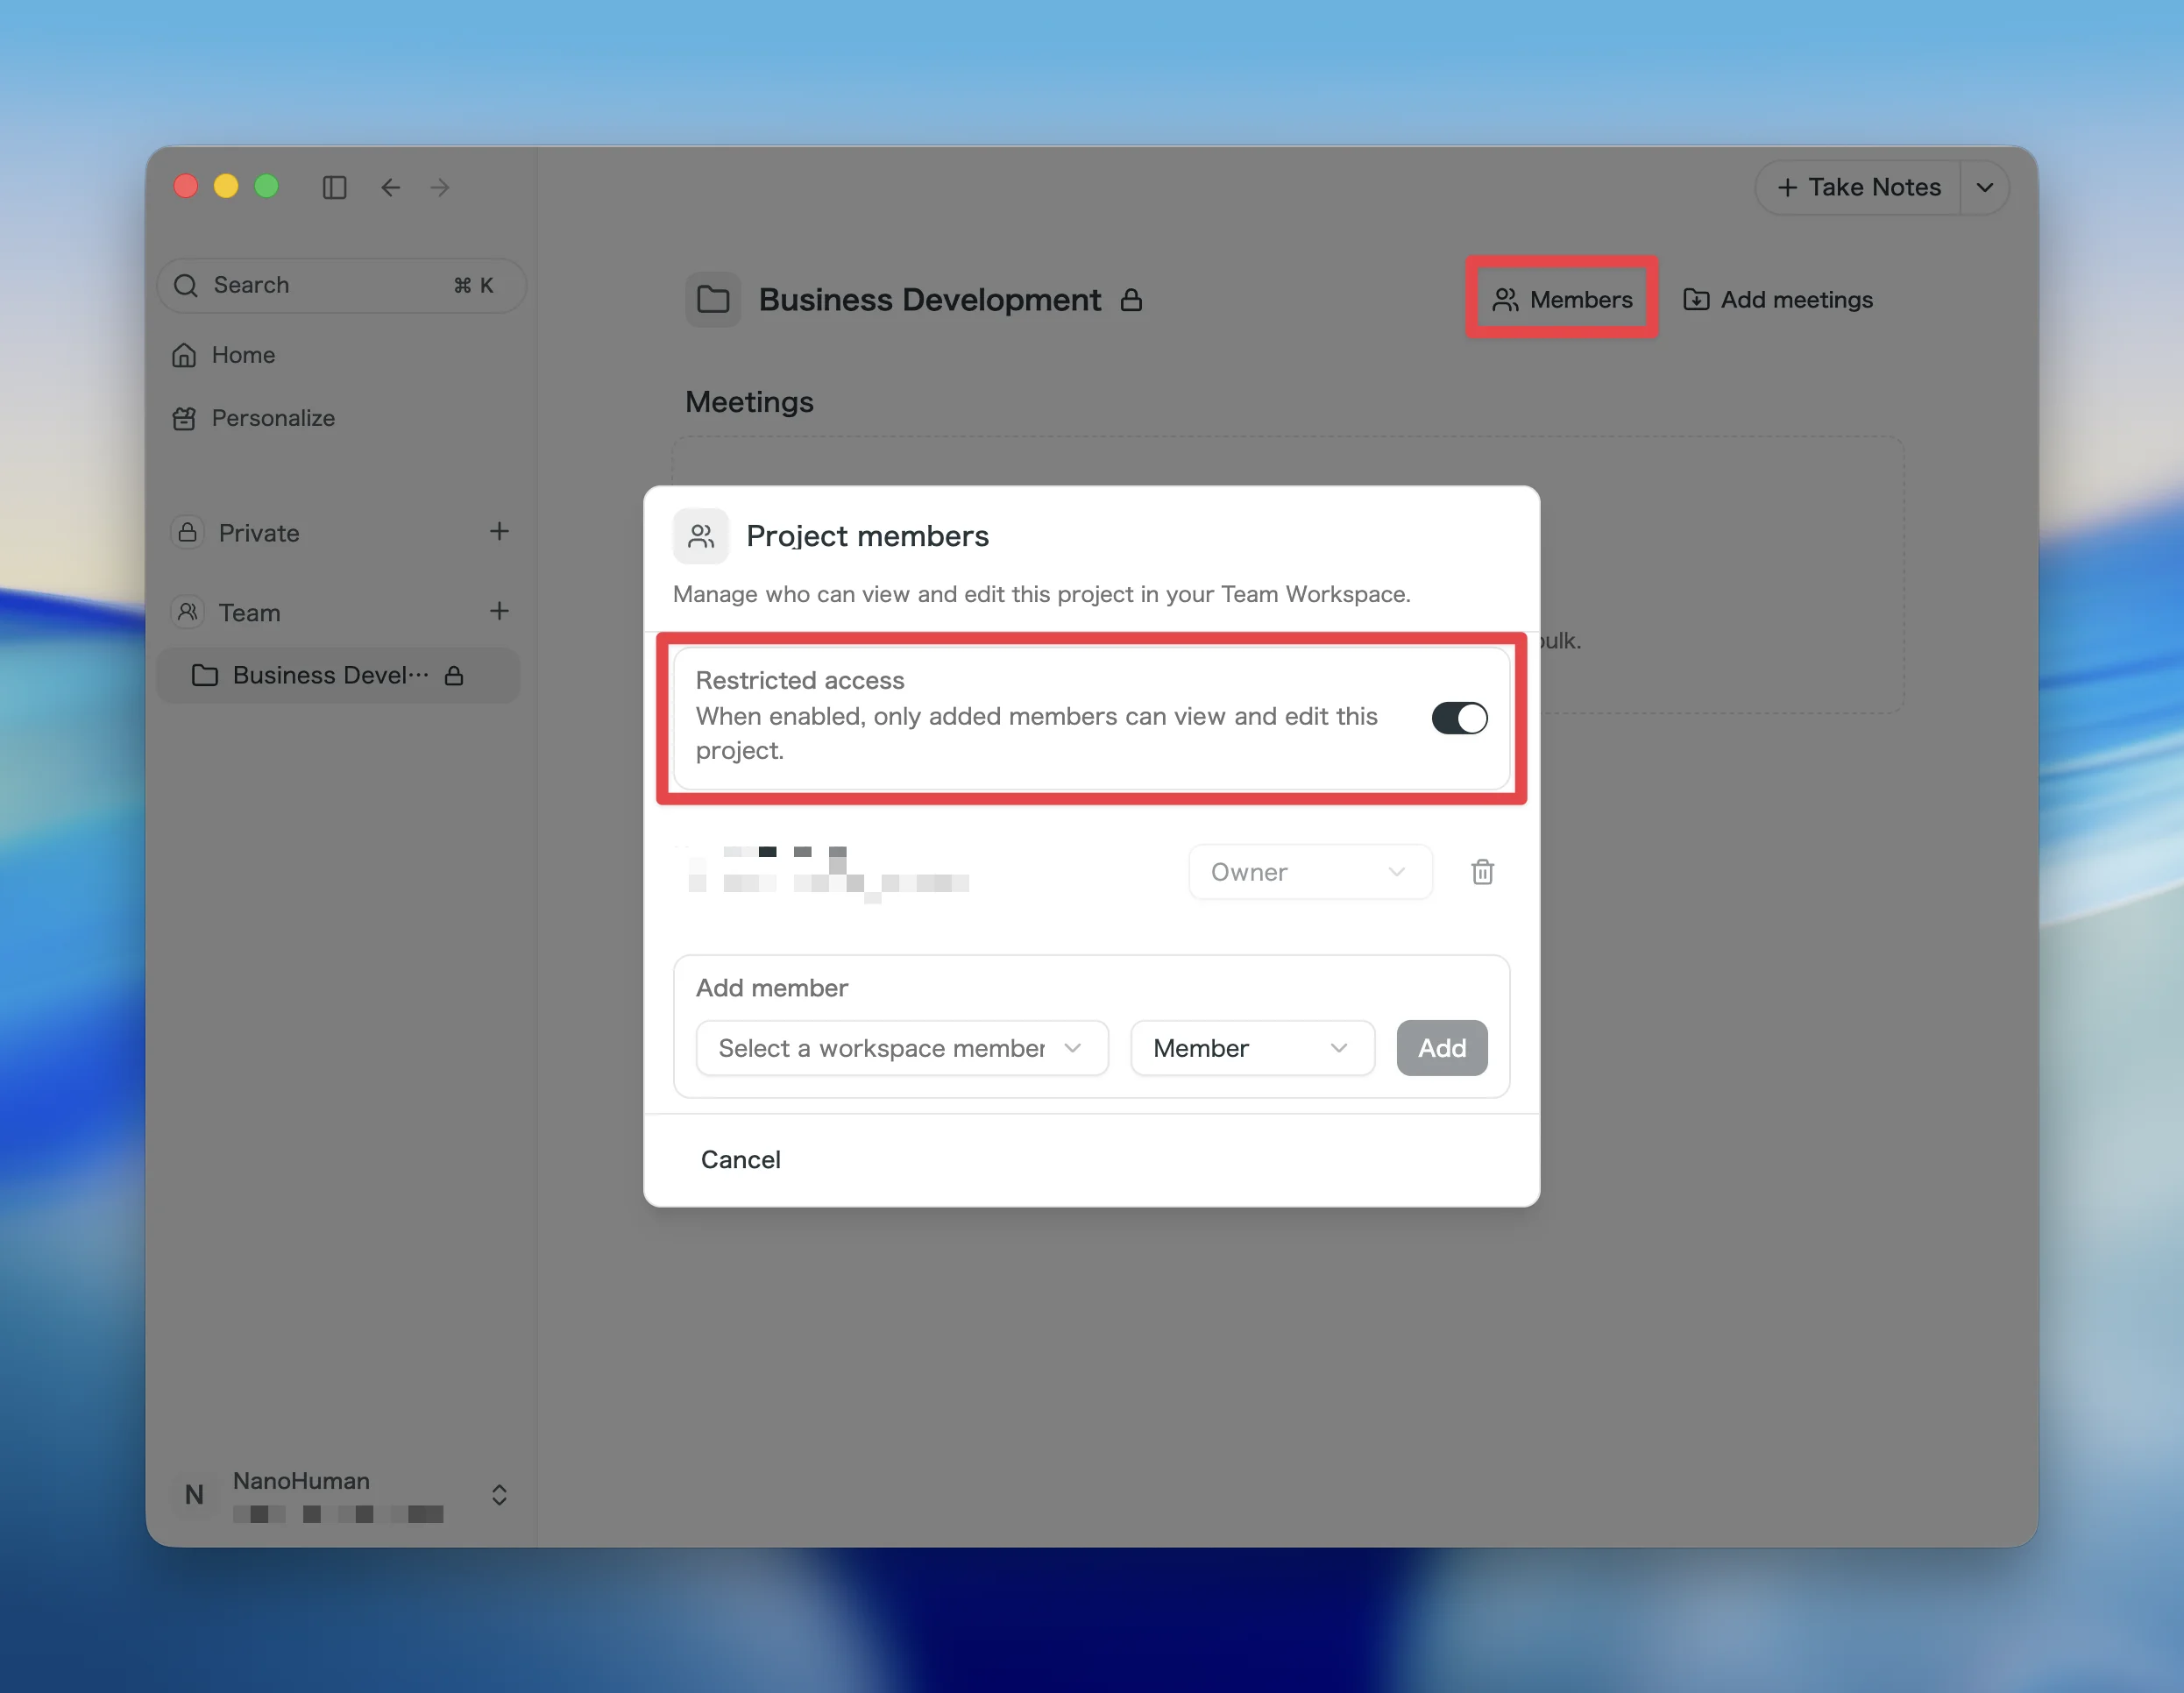
- Open the project, click "Members" at the top right, and turn on "Restricted access" in the project members dialog.
-
Add the members who should participate and choose their role (owner / member).
-
From now on, the project and its meetings are visible only to the added members and workspace admins. Everyone else does not even see that the project exists.
Owner vs. member
| Action | Owner | Member |
|---|---|---|
| View the project and its meetings | Yes | Yes |
| Add meetings | Yes | Yes |
| Move meetings out of the project | Yes | No |
| Edit project name, description, icon | Yes | No |
| Add / remove members, change roles | Yes | No |
| Archive the project | Yes | No |
In short: members can view and add meetings; managing the project and taking meetings out is reserved for owners.
Things to note
- You can only add people who already belong to the workspace. Outside users cannot be invited directly to a project.
- A project can have several owners, but the last remaining owner cannot be removed or demoted.
- A restricted project cannot be archived while meetings remain in it. Move the meetings out first.
- Turning restricted access off resets the member list, and the project becomes a normal project visible to the whole workspace.
Permissions cheat sheet
A Team workspace has two roles, Admin and Member. Including the owner role in restricted projects, here is who can do what.
| Action | Workspace Admin | Project owner | Member |
|---|---|---|---|
| Invite / remove members, change roles | Yes | No | No |
| Manage billing and payments | Yes | No | No |
| Delete meetings in the Team space | Yes | No | No |
| Return a shared meeting to its creator's Private | Yes | No | No |
| Archive a regular Team project | Yes | No | No |
| Manage / archive a restricted project | Yes | Yes | No |
| View other members' Private spaces | No | No | No |
Two takeaways:
- Deleting meetings and undoing sharing are admin-only. Project owners manage their project, but cannot delete meetings or return them to Private.
- Even admins cannot see other members' Private spaces. Admin rights are for managing the shared area and the subscription.
FAQ
How do I delete a meeting?
Meetings in the Team space can only be deleted by a workspace admin. Neither the meeting's creator nor a project owner can delete them, so ask an admin. Meetings in your own Private space can be deleted by you at any time.
How do I move a shared meeting back to Private?
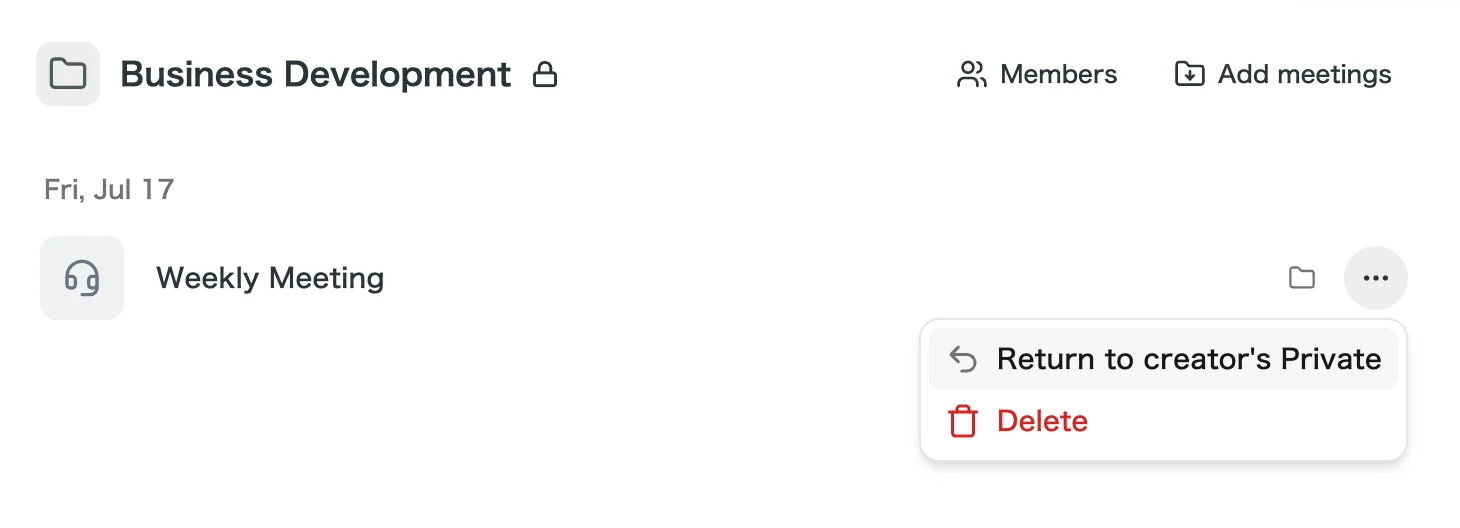
Only a workspace admin can. From the meeting menu, an admin runs "Return to creator's Private", and the meeting becomes accessible only to its creator again. Project owners cannot do this.
Can my recordings become visible to the team without my action?
No. Every recording is saved to your own Private space and stays invisible to everyone until you share it.
Can admins see other members' Private spaces?
No. Only the member themselves can see their Private space, admins included.
Can one meeting belong to multiple projects?
Yes, within the same space. Adding a meeting to a project in a different space moves the meeting there and removes its links to projects in the original space.
Why can't I archive a restricted project?
It cannot be archived while meetings remain in it, to prevent the sharing scope from changing unintentionally. Move the meetings out or into another project first.
What happens to someone's Private meetings when they leave the workspace?
Before removing a member, the admin sees how many meetings remain in that member's Private space. Since those meetings belong to that member alone, have them share anything the team needs into Team before removal.
Using the Team plan comes down to three things: record as usual, share through projects, and leave deletion and un-sharing to admins. Start by creating one project in the Team space and sharing this week's meetings.